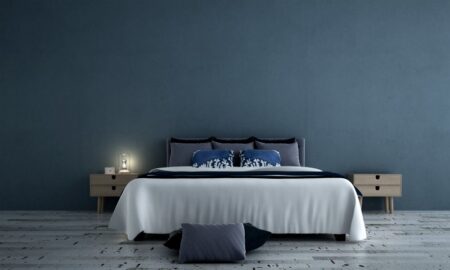
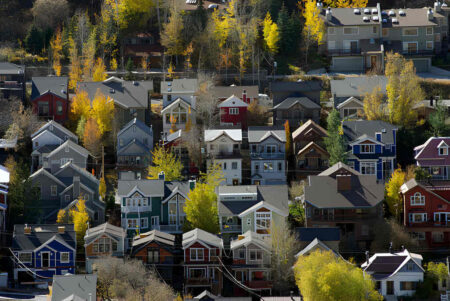
Lumion rendering program assists architects in communicating their designs with clarity, emotion, and expression. For more than a decade, each new version of Lumion has introduced new features, workflows, control methods, and enhanced scene rendering settings.
To generate appealing and realistic visuals, the designer can create a model in software such as Revit, SketchUp, or other BIM programs and then import the model into Lumion for rendering.
Here is a list of ten helpful Lumion rendering tips.
1. Craft the Surrounding Environment
Creating a beautiful render and the surrounding environment aids in the creation of a photorealistic image. The various environmental backgrounds available in Lumion – Plain, Beach, Mountain, Tropical, Desert, Forest, Suburban, and Winter – are ideal for each specific type of project.
If it’s an exterior image, adding unique landscapes such as trees, water features, shrubs and plants, landscape furniture, sculptures, human figures, and so on, adds depth to the render and creates a realistic effect.
2. Determine a Viewpoint that emphasizes what you want to convey
Adjust the camera angle to highlight what is in the correct position. Set the camera position so that the viewpoint catches your eye.
Whether you want to highlight a facade/interiors/surrounding landscape/pool/sculpture or the entire structure with its urban surroundings, for example, the viewpoint should provide a complete picture of what you want to convey to users. Setting the height to human eye level and maintaining a reasonable perspective results in a visually appealing viewpoint.
3. Setting up an idealized Daylighting Scene
Choose the best rendering option for daylight scenes. Enabling and adjusting the brightness of the sky, adjusting the Sun’s position (via the sun-study effect), and precisely moderating the location, time, and date of the project you’re working on.
Depending on the scene, adjust the shadows, brightness, and contrast. The exterior daylight, skylight, and sun settings enhance the image, making it more appealing. It should not overpower the image or cause blurring in the rendered image. If you don’t have a proper setup, you can outsource your work to a commercial 3d rendering service in your area.
4. Create an ideal atmosphere with Light Fixtures
Lighting is critical to experiencing and comprehending space. The presence of light distinguishes the various colors, textures, and materials.
A combination of various light fixtures such as wall lights, ceiling lights, spotlights, and so on creates a well-defined lighting atmosphere for the design and renders.
Color correction, bloom, volumetric spotlights effect, lens flare, and other notable lighting effects are also included in Lumion.
5. Utilize Color Correction to perceive the feel of Color
Color and the combination of distinct colors are critical components of an image. The color correction effect can be used to control settings such as temperature, tint, vibrance, brightness, contrast, saturation, and others. Color variation, color composition, illumination, and contrast can all enhance or detract from a scene.
6. Add Depth to the image by Blend of Effects
Adding a mix of effects not only adds depth to the image but also enhances the brightness and quality of the render. Here are a few tips for visual effects that supplement the renders in Lumion.
Color correction effect: It balances the color tone and adds shadows to an image.
7. Adjust views with a Two-point Perspective
Adjusting the view with a two-point perspective will eliminate any focal length distortions in the end results.
The sidelines will be straight and provide a precise angle, removing the need for slant lines. It defines the horizon line and distinguishes between lines for the ground, building, and sky.
8. Addition of Supplementary Details
Including extra details like furniture, cars, people models, background scenery, and so on not only completes the picture but also indicates a function-based design relationship between the user and the building.
The car, two-wheeler, and people for the exterior fill the image’s empty spaces. Including furniture and people in the interior spaces also mentions scale and displays the function of a room where applicable.
The scale and purpose of a double-height central lobby, for example, are clearly defined if the furniture and people are placed rather than left empty.
9. More Realistic Effects that stand out
The use of styles and effects in Lumion can alter the appearance of the render.
Hyper Light boosts the image’s brightness.
A skylight improves both the planar and reflected projections.
Shadow: Enhances the scene’s depth, orientation, and ambient atmosphere.
10. Use Materials that are clear with Color and Texture
Lumion includes a materials library with a variety of indoor and outdoor materials with adjustable colorization, reflectivity, glossiness, relief, map scale, and so on. Although the default settings are ideal for a better-rendered image, fine-tuning the properties of materials that are more vibrant in terms of color and texture will result in a more personalized picture-perfect render.
The appearance can be made more lively by adjusting the brightness and darkness, color map, and so on. These adjustments also show the angles at which different material surfaces blend.


